


Anatomy of a Great Recipe (Plus the Most Irresistible Corn Cookies)
7 components of a well-written recipe & Honey-Miso Brown Butter Corn Cookies

Hi! If you're new here, welcome to Dish Lister! This newsletter offers tested, trusted recipes, helpful kitchen tips, and curated recommendations designed to inspire and bring joy to both eating in and dining out. Whether you're a seasoned foodie or simply looking to try something new, there's always something delicious to discover here.
If you’re interested in full access to every amazing, foolproof recipe (last week’s no-churn ice cream recipe was for my paid subscribers only)—plus personalized guidance on what to make with any ingredient, consider becoming a paid subscriber today!
Why is understanding the anatomy of a recipe so important—and helpful?
In short, understanding a recipe’s basic components builds confidence, sparks creativity in the kitchen, and brings greater clarity to the cooking process overall.
Some additional benefits:
You’re less likely to make mistakes or get confused mid-cook.
You’ll find it easier to adapt recipes to your dietary needs or personal preferences.
You’ll become a better problem solver in the kitchen. When something goes wrong, knowing the anatomy of a recipe can help you pinpoint the issue.
Over the years I’ve spent as a professional recipe tester, I’ve developed a keen eye for what works and doesn’t work in recipes—and why. I’ve learned the essential rules, the common pitfalls, and how to troubleshoot when things go awry.
Today, I’m breaking down the key components of a recipe—what they are, and what makes them great. The goal? To help you more easily identify those recipes that are likely to succeed as well as avoid the ones that might disappoint.
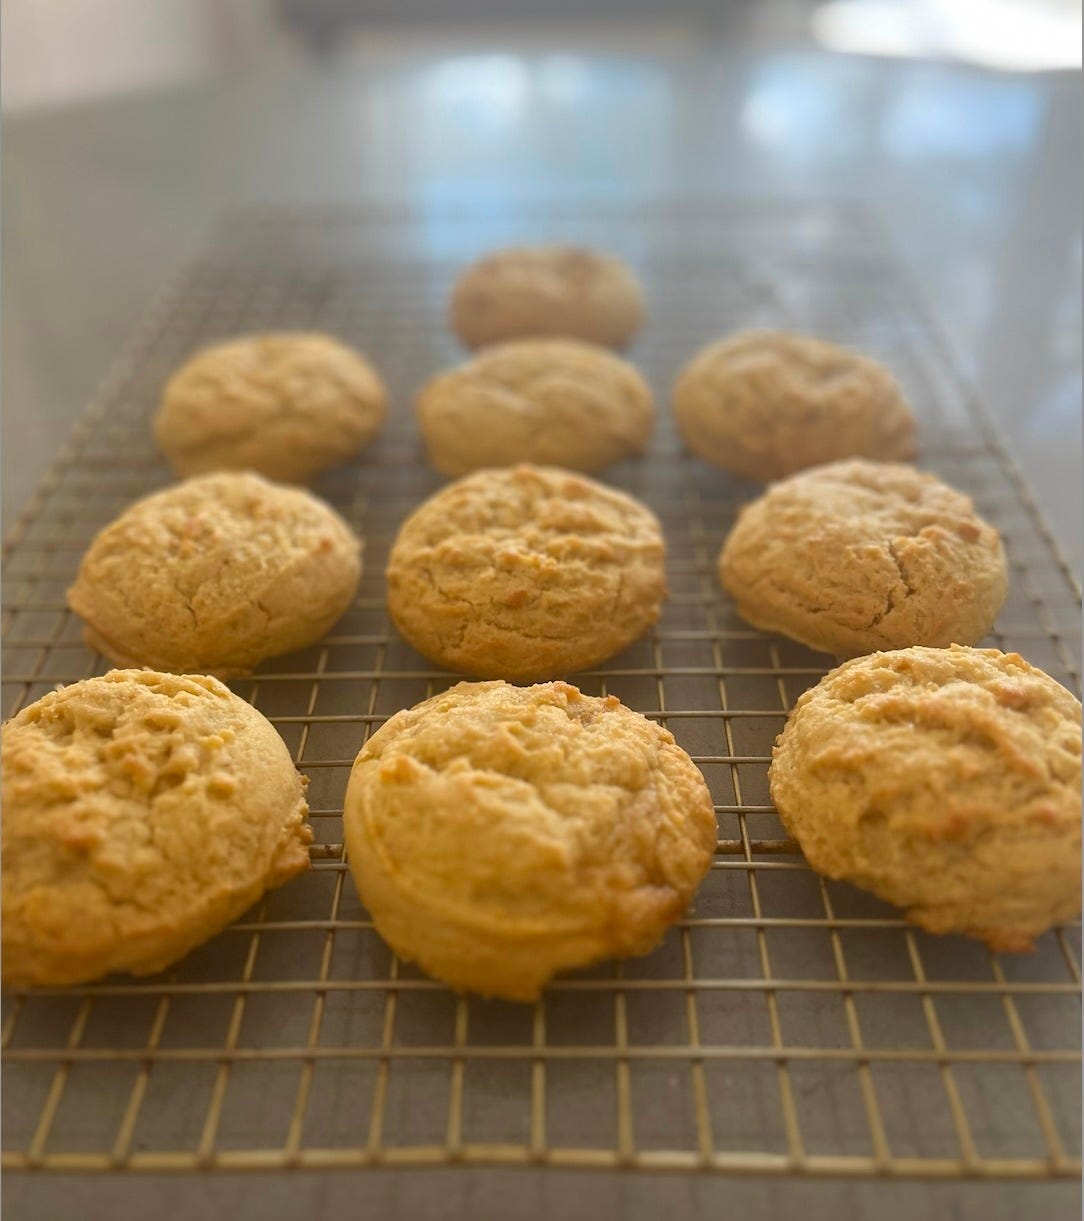
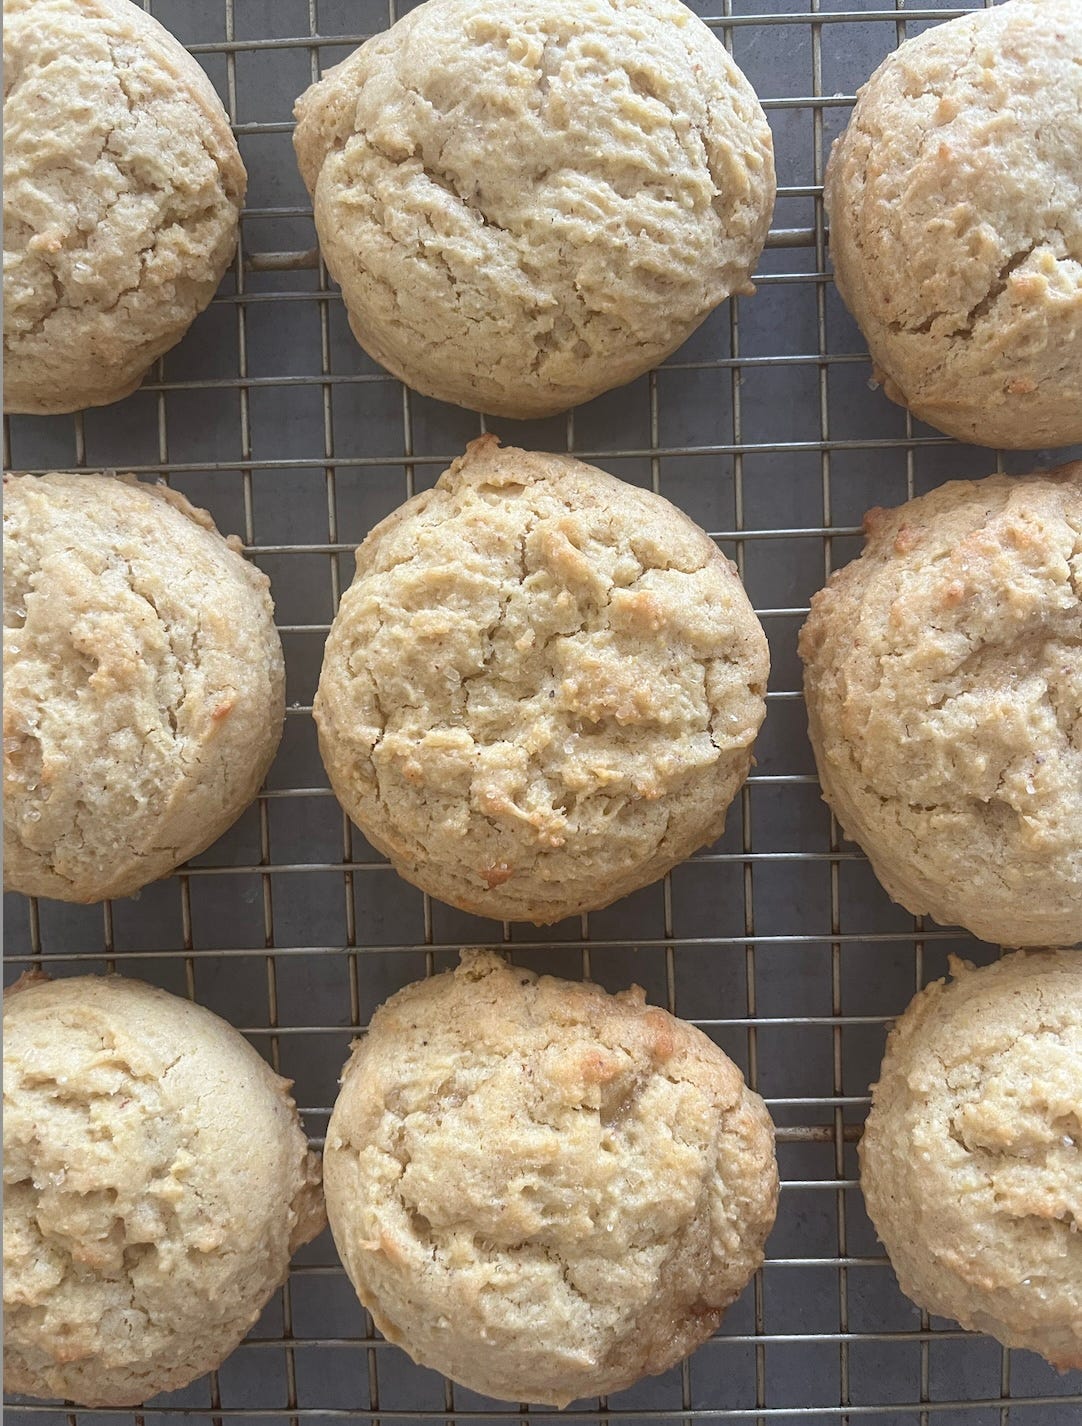
To help illustrate these principles, I’ll use my new recipe for Honey-Miso Brown Butter Corn Cookies as an example. (They’re pretty irresistible, if I do say so myself!)
Anatomy of a Good Recipe
1. RECIPE TITLE
A good recipe starts with a strong title. It should be clear and descriptive, explaining exactly what the dish is, while hinting at its flavor (spicy, sweet, tangy), key ingredients (like miso, soy, or ginger), or style of preparation (baked, stir-fried, roasted, cold).
In the case of my corn cookies, they contain corn (meal and flour), honey, miso, and brown butter—all of which contribute to their unique flavor. So I decided to call them Honey-Miso Brown Butter Corn Cookies to highlight those standout ingredients. Corn in the title is a given (they’re corn cookies, after all!), but the honey, miso, and brown butter are what make them interesting, distinctive, and appealing.
2. HEADNOTE
A headnote provides helpful or interesting context for a recipe. A well-written one often explains the origin of the dish, why it’s special, and may even offer a few tips to keep in mind before you begin.
Here’s the headnote for my corn cookie recipe:
This recipe was inspired by the most amazing corn cookie I’ve ever eaten at Culture Espresso in New York City. What’s a corn cookie, you ask? For the uninitiated, a corn cookie is basically cornbread in cookie form. Trust me when I say it’s one of the more genius mash-ups.
I ended up making these cookies 10 times before I felt like I had something rivaling Culture Espresso’s version, and I’m so excited to share it with you.
In it, I explain what inspired me to develop the recipe (side note: if you’re in NYC, you must go to Culture Espresso to try their corn cookie—I promise you won’t regret it!). I also describe what a corn cookie is for those unfamiliar, since it’s a more unusual and slowly emerging cookie style. Giving readers a sense of what it’s like helps build understanding and interest.
Ultimately, my intention with this headnote is to share the cookie’s backstory and spark enough curiosity for you to want to try it.
Did I succeed??
3. YIELD
Most people want to know exactly how many (or how much) a recipe yields so they can plan accordingly. Depending on how many people you’re serving, you may choose to halve, double, or even triple a recipe.
Yield isn’t just about numbers—it’s also about format. For example, saying “makes one 8-inch round cake” or “fills 12 standard-size muffins” is often more helpful than just listing the number of servings, especially for baked goods or batters that need to fit a specific pan.
After testing my corn cookie recipe multiple times, I got a consistent yield of 10 to 11 cookies.
4. TIME ESTIMATES
Good recipes provide time estimates—often Total Time, Active Time (your hands-on time)—and also flag any other noteworthy timing like cooling time or an overnight rest in the fridge. Sometimes you’ll see Prep Time and Cook Time instead of Active Time, which separates the time spent preparing ingredients from the actual cooking.
As a recipe developer, being honest and realistic about these time estimates is just as important as including them. Overly optimistic or vague timing can lead to frustration—especially for less experienced cooks who are still learning to pace themselves. Clear, accurate times help set proper expectations and build trust, making people more likely to return to those recipes again and again.
5. INGREDIENT LIST
The best recipes organize ingredients in the order they appear in the instructions. This helps with clarity and flow—the ingredient list becomes a visual map of the process. It also aids in arranging mise en place and knowing exactly what’s needed when.
The best ingredient lists are also specific and detailed. For example, “1/2 cup packed brown sugar” versus simply “1/2 cup brown sugar” gives a clearer idea of the quantity needed. I always like to provide weight measurements for baked goods (in addition to volume), as those are the most precise.
Anything that needs to be prepared in advance but isn’t mentioned in the instructions should be included in the ingredient list. However, prep steps should not be repeated in both the ingredient list and the instructions. You don’t want to see “10 tbsp unsalted butter, cut into 1/2-inch cubes” in the ingredient list and include cutting the butter into cubes as a step later on.
PRO TIP/ NOTE: If a recipe calls for “1 cup cheese, grated” or “2 cups onions, finely chopped,” the prep time for those items is not included in the overall time calculation. It’s assumed you’ll start the recipe with those ingredients measured and ready (your mis en place, essentially). The total time for my corn cookie recipe doesn’t include time to measure ingredients or to let the eggs come to room temperature.
Finally, good ingredient lists are grouped for clarity. My cookies don’t have multiple components, but if you’re making a cake, you might divide the ingredient list into sections like “For the cake,” “For the frosting,” and so on.
6. INSTRUCTIONS
Great recipe instructions are listed step by step and logically organized, usually with a consistent format like bullet points or numbered steps. Each step should be concise and easy to follow, but detailed enough that someone can execute it without second-guessing.
The best instructions also include cues and indicators—especially visual ones—to guide the cook. In my cookie recipe, I use phrases like “bake until golden brown around the edges and set on top,” and “mix until no streaks of flour remain.” Descriptors like these help people know what to look for, not just what to do. Other types of cues might rely on aroma (“until the butter smells nutty”), texture (“dough should spring back when lightly pressed”), or timing (“chill for at least 2 hours or until firm”). I use both visual and aroma cues in the step for browning the butter.
7. TIPS & SUBSTITUTIONS (AKA NOTES)
Lastly, tips and substitutions (also called Notes) are an optional feature and typically found at the end of recipe. They can be especially helpful for making recipes more flexible and broadly appealing. Some examples of what gets included here:
Make-ahead instructions. Especially helpful for busy cooks or when prepping for gatherings. If part (or all) of a recipe can be made in advance, it’s worth noting.
Substitutions. As a general rule, I only recommend substitutions if I’ve tested them myself or feel confident they’ll work based on experience.
Pairing ideas. Suggestions for dishes or beverages that pair well with a recipe can inspire meal planning and take some of the effort out of figuring out what to serve alongside it.
Storage tips. Knowing where and how to store something, along with the potential shelf life of leftovers, can help people better understand how much they may want to make.
Common pitfalls or watch-outs. Pointing out tricky steps or common mistakes helps set people up for success, especially for beginners.
Nutritional information. This takes a bit more effort to calculate, but it can be especially helpful for health-conscious cooks or those with dietary restrictions.
Equipment notes. Totally optional, but it can be helpful to flag any specialized tools or appliances needed for a recipe (e.g., fondue pot, pizza stone, etc.).
Notes on testing for accuracy. Knowing a recipe was tested multiple times can boost confidence in its reliability. It’s a small detail that adds reassurance. (I mention this in my recipe headnote.)
And now for the cookie recipe in its entirety, incorporating the basic components discussed above…enjoy!!
Honey-Miso Brown Butter Corn Cookies
This recipe was inspired by the most amazing corn cookie I’ve ever eaten at Culture Espresso in New York City. What’s a corn cookie, you ask? For the uninitiated, a corn cookie is basically cornbread in cookie form. Trust me when I say it’s one of the more genius mash-ups.
I ended up making these cookies 10 times before I felt like I had something rivaling Culture Espresso’s version, and I’m so excited to share it with you.
Yield: Makes 10-11 (3-tbsp sized) cookies.
Active Time: 15 min.
Total Time: 27 min, plus cooling time.
Ingredients:
10 tbsp unsalted butter, softened (see Note below)
½ cup (96 g) packed brown sugar
3 tbsp (63 g) honey
1 egg and 1 egg yolk, at room temperature
2 tbsp (34 g) white miso paste
1 tsp vanilla extract
2 cups (250 g) all-purpose flour
¼ cup (30 g) corn meal (I use a medium grind, like Indian Head brand)
¼ cup (31 g) corn flour (like Bob’s Red Mill)
½ tsp baking soda
1 tsp kosher salt
Demerara or turbinado sugar, for sprinkling (optional)
Instructions:
Preheat oven to 350°F (177°C). Line two full-size sheet pans with parchment paper.
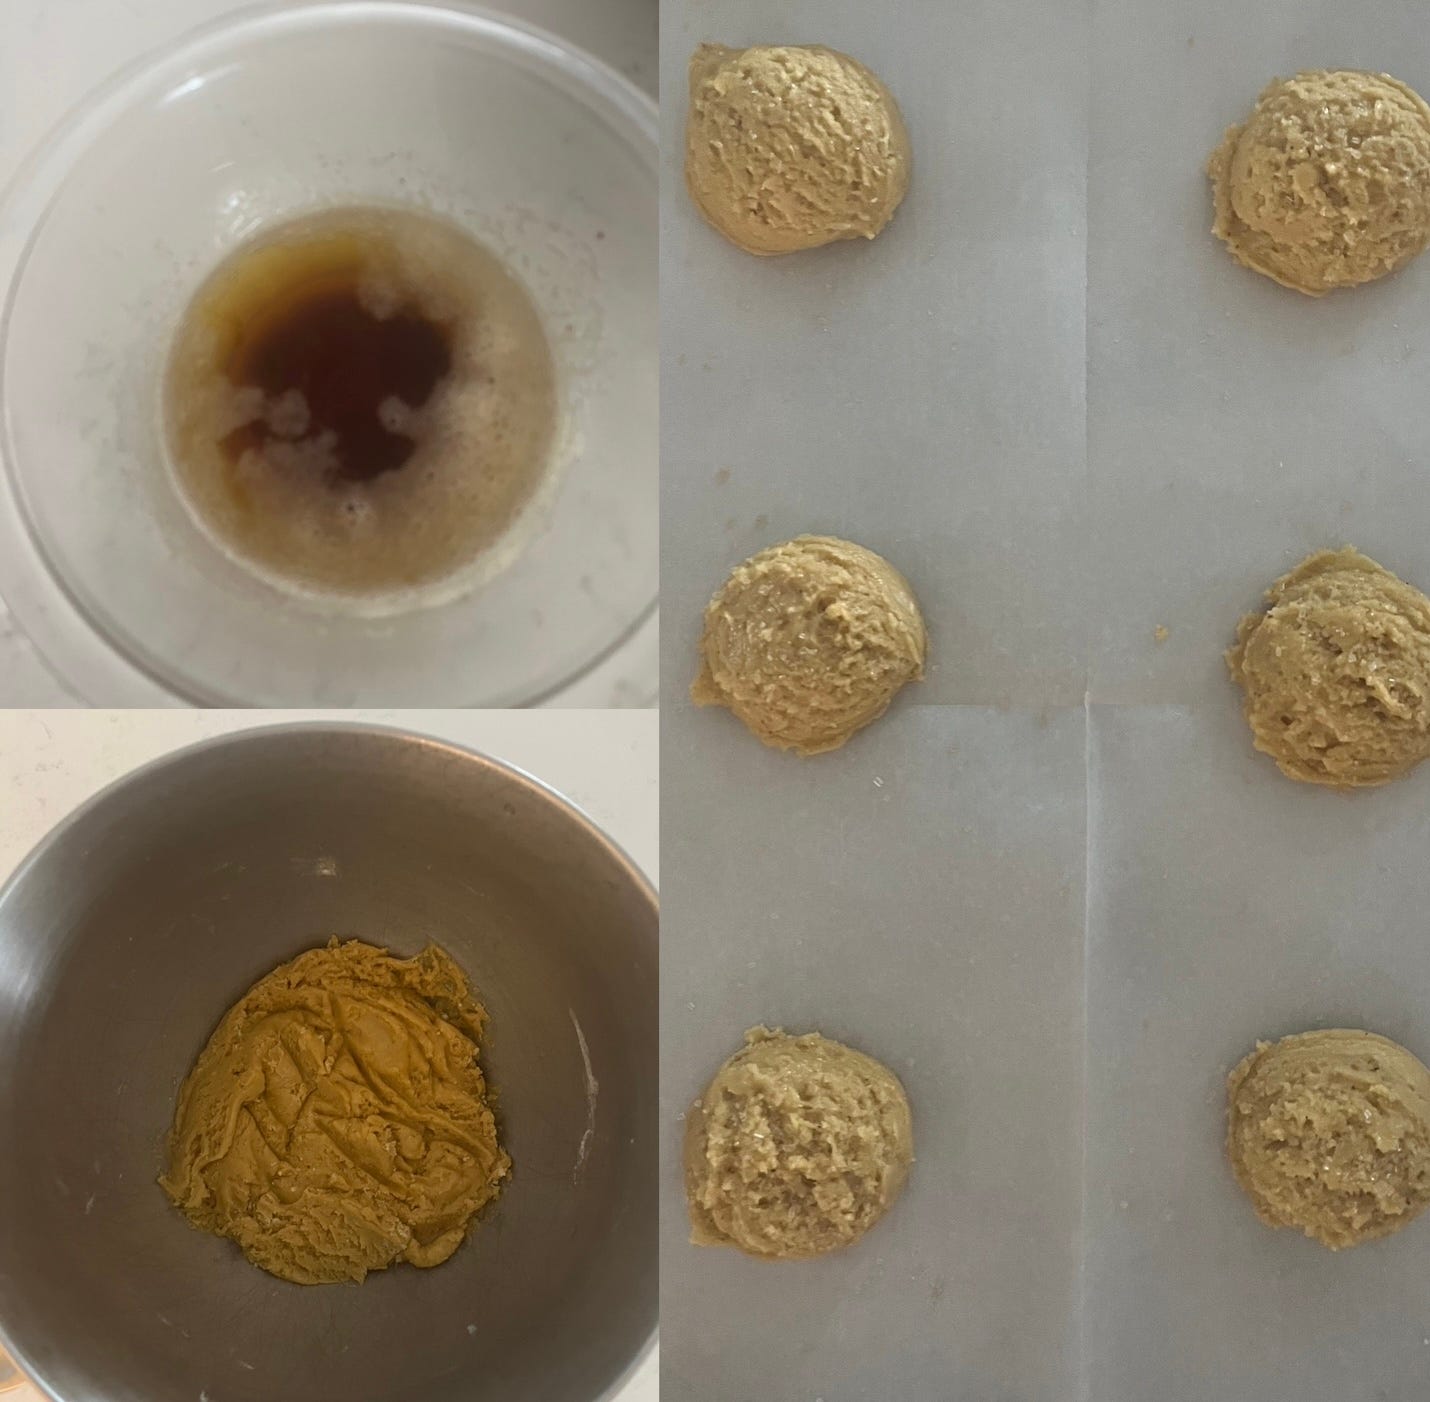
Place butter in a medium (preferably light-colored) saucepan over medium heat. Once butter starts to melt, with a heatproof spatula or whisk, begin stirring frequently, scraping down the sides of saucepan as needed. The butter will sizzle and foam and eventually the foam will start to subside. Continue stirring frequently, just until small brown flecks start to emerge on the bottom of the pan and the butter smells nutty, about 3-5 minutes, depending on your stove. Remove pan from heat immediately, pour butter into a small heatproof bowl, and set aside to cool. Important note: Take butter off the heat as soon as you start to see some brown bits, as it goes from browned to burnt very quickly! Also, make sure to scrape as many of the brown bits out of the pan as you can; those are the toasted milk solids and provide much of the great flavor.
In a medium bowl, whisk together all-purpose flour, corn meal, corn flour, baking soda and salt and set aside.
Once the brown butter has cooled, add it to the bowl of a stand mixer with a paddle attachment or a large bowl with a hand mixer. Add brown sugar and honey and mix until well combined. Mixture will be grainy and somewhat lumpy—this is fine.
Add egg, egg yolk, miso paste, and vanilla extract, and beat on medium speed until very smooth, about a minute.
Add flour mixture to the bowl and mix on low speed just until combined and no streaks of flour remain.
Using a 3-tbsp ice cream scoop (or equivalent amount with a measuring spoon), scoop cookie dough balls onto two parchment-lined sheet pans, spacing them a few inches apart. Sprinkle cookies with a little Demerara sugar (if desired).
Place sheet pans in the preheated oven and bake cookies for 11-12 minutes, rotating pans on shelves halfway through, until cookies are golden brown around edges and set on top.
Let cookies cool on pans for 5 minutes before moving them to a wire rack to cool completely.
Notes:
These cookies taste best when they’ve had a chance to cool slightly (which allows their interiors to settle a bit)—at least 15-20 minutes, if not longer.
Cookies will save for up to 1 week in an air-tight container stored at room temperature.
Corn flour is finely ground corn kernels and has a much finer texture than cornmeal, which is coarser and grittier. I found the combination of the two gave this cookie the ideal taste and texture, though I also liked the version made with corn flour only (substituting it 1:1 for the cornmeal). That version had a slightly lighter texture.
I get the best results with brown butter when the butter is slightly softened, not cold out of the fridge. Also, I use unsalted butter since I find salted butter can get a bit too foamy, making it harder to see the browned bits.
I didn’t test a gluten-free version, but I imagine an equal swap with a 1:1 gluten-free flour blend—like King Arthur Gluten-Free Measure for Measure Flour—would work.

In case you missed it, I did a write-up of my favorite frozen sweet treats last week, including a recipe for a delicious No-Churn Cherry Chip Mascaparone Ice Cream—it’s perfect for summer! And, if you’re interested, the Whynter Ice Cream Maker that I love is deeply discounted (more than $100 off!) during Amazon’s Prime Days this week.
Have a delicious week!
P.S. Some of the links in this post are affiliate links, which means I may earn a small commission if you make a purchase (at no extra cost to you). Not a bad deal, right? 😊
What a thorough breakdown of what makes a great recipe! This really helps both the recipe writer and recipe user. And those cookies sound amazing!
I like the idea of combining cornmeal finer and medium grinds for texture- these look nice